In microelectronics, it creates reliable bonds without introducing impurities or thermal distortion into components. Semiconductor devices, transistors and diodes are often connected by thin aluminum and gold wires using ultrasonic welding. It is also used for bonding wiring and ribbons as well as entire chips to microcircuits.
To optimize the weld and prevent defects, the horn and anvil must be precisely aligned during setup so that the horn exerts uniform pressure across the entire weld area. An economical and precise procedure that will ensure this outcome involves the use of Pressurex® pressure indicating sensor film.
Routine use of Pressurex® during the setup of ultrasonic welders helps ensure proper contact pressure and alignment between the horn and anvil, which results in welds of greater bond strength and aids in reducing rejected product and lowering base factory cost.
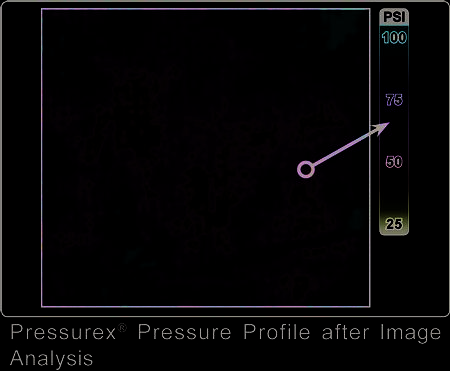
Pressurex® is an easy-to-use tool that reveals the distribution and magnitude of pressure between any two contacting surfaces. When placed between the horn and the anvil of the ultrasonic bonder, the film instantaneously and permanently changes color directly proportional to the actual pressure applied. The precise pressure magnitude (PSI or kg/cm2) is then easily determined by comparing color variation results to a color correlation chart (conceptually similar to interpreting Litmus paper). If desired, the film can be further analyzed. Pressurex® is extremely thin (4 to 8 mils) and flexible, which enables it to conform to curved surfaces.
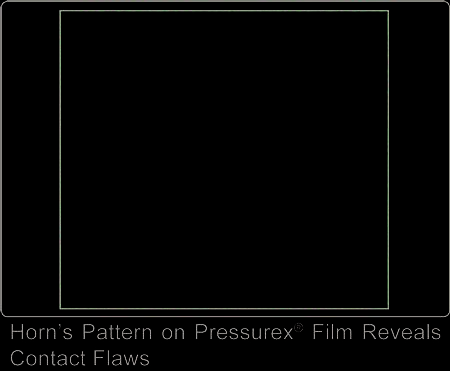
These pressure maps show that there are pressure variations across the weld zone which can result in less than optimal weld strength.
Such variations are generally caused by lack of alignment between the horn and anvil or by dirt or residue on the horn. To fix these conditions during setup: First, turn on the ultrasonic welder and set the supply air pressure. Place a flat gauge on the contact point of the anvil to simulate the thickness of the parts to be welded. Lower the horn onto the flat gauge to calibrate the height setting. Align the horn tip and the anvil. Place Pressurex® on top of the flat gauge and lower the horn to exert light pressure on the film as shown. Lastly, adjust the horn tip as needed through repeated setups with the sensor film. The setup is correct when the pressure density on the film is uniform in color.
For further information and a sample in your pressure range, contact Sensor Products Inc. at 1.973.884.1755 (USA), email info@sensorprod.com or visit http://www.sensorprod.com/sample


